
Carbon Fiber Crack Repair
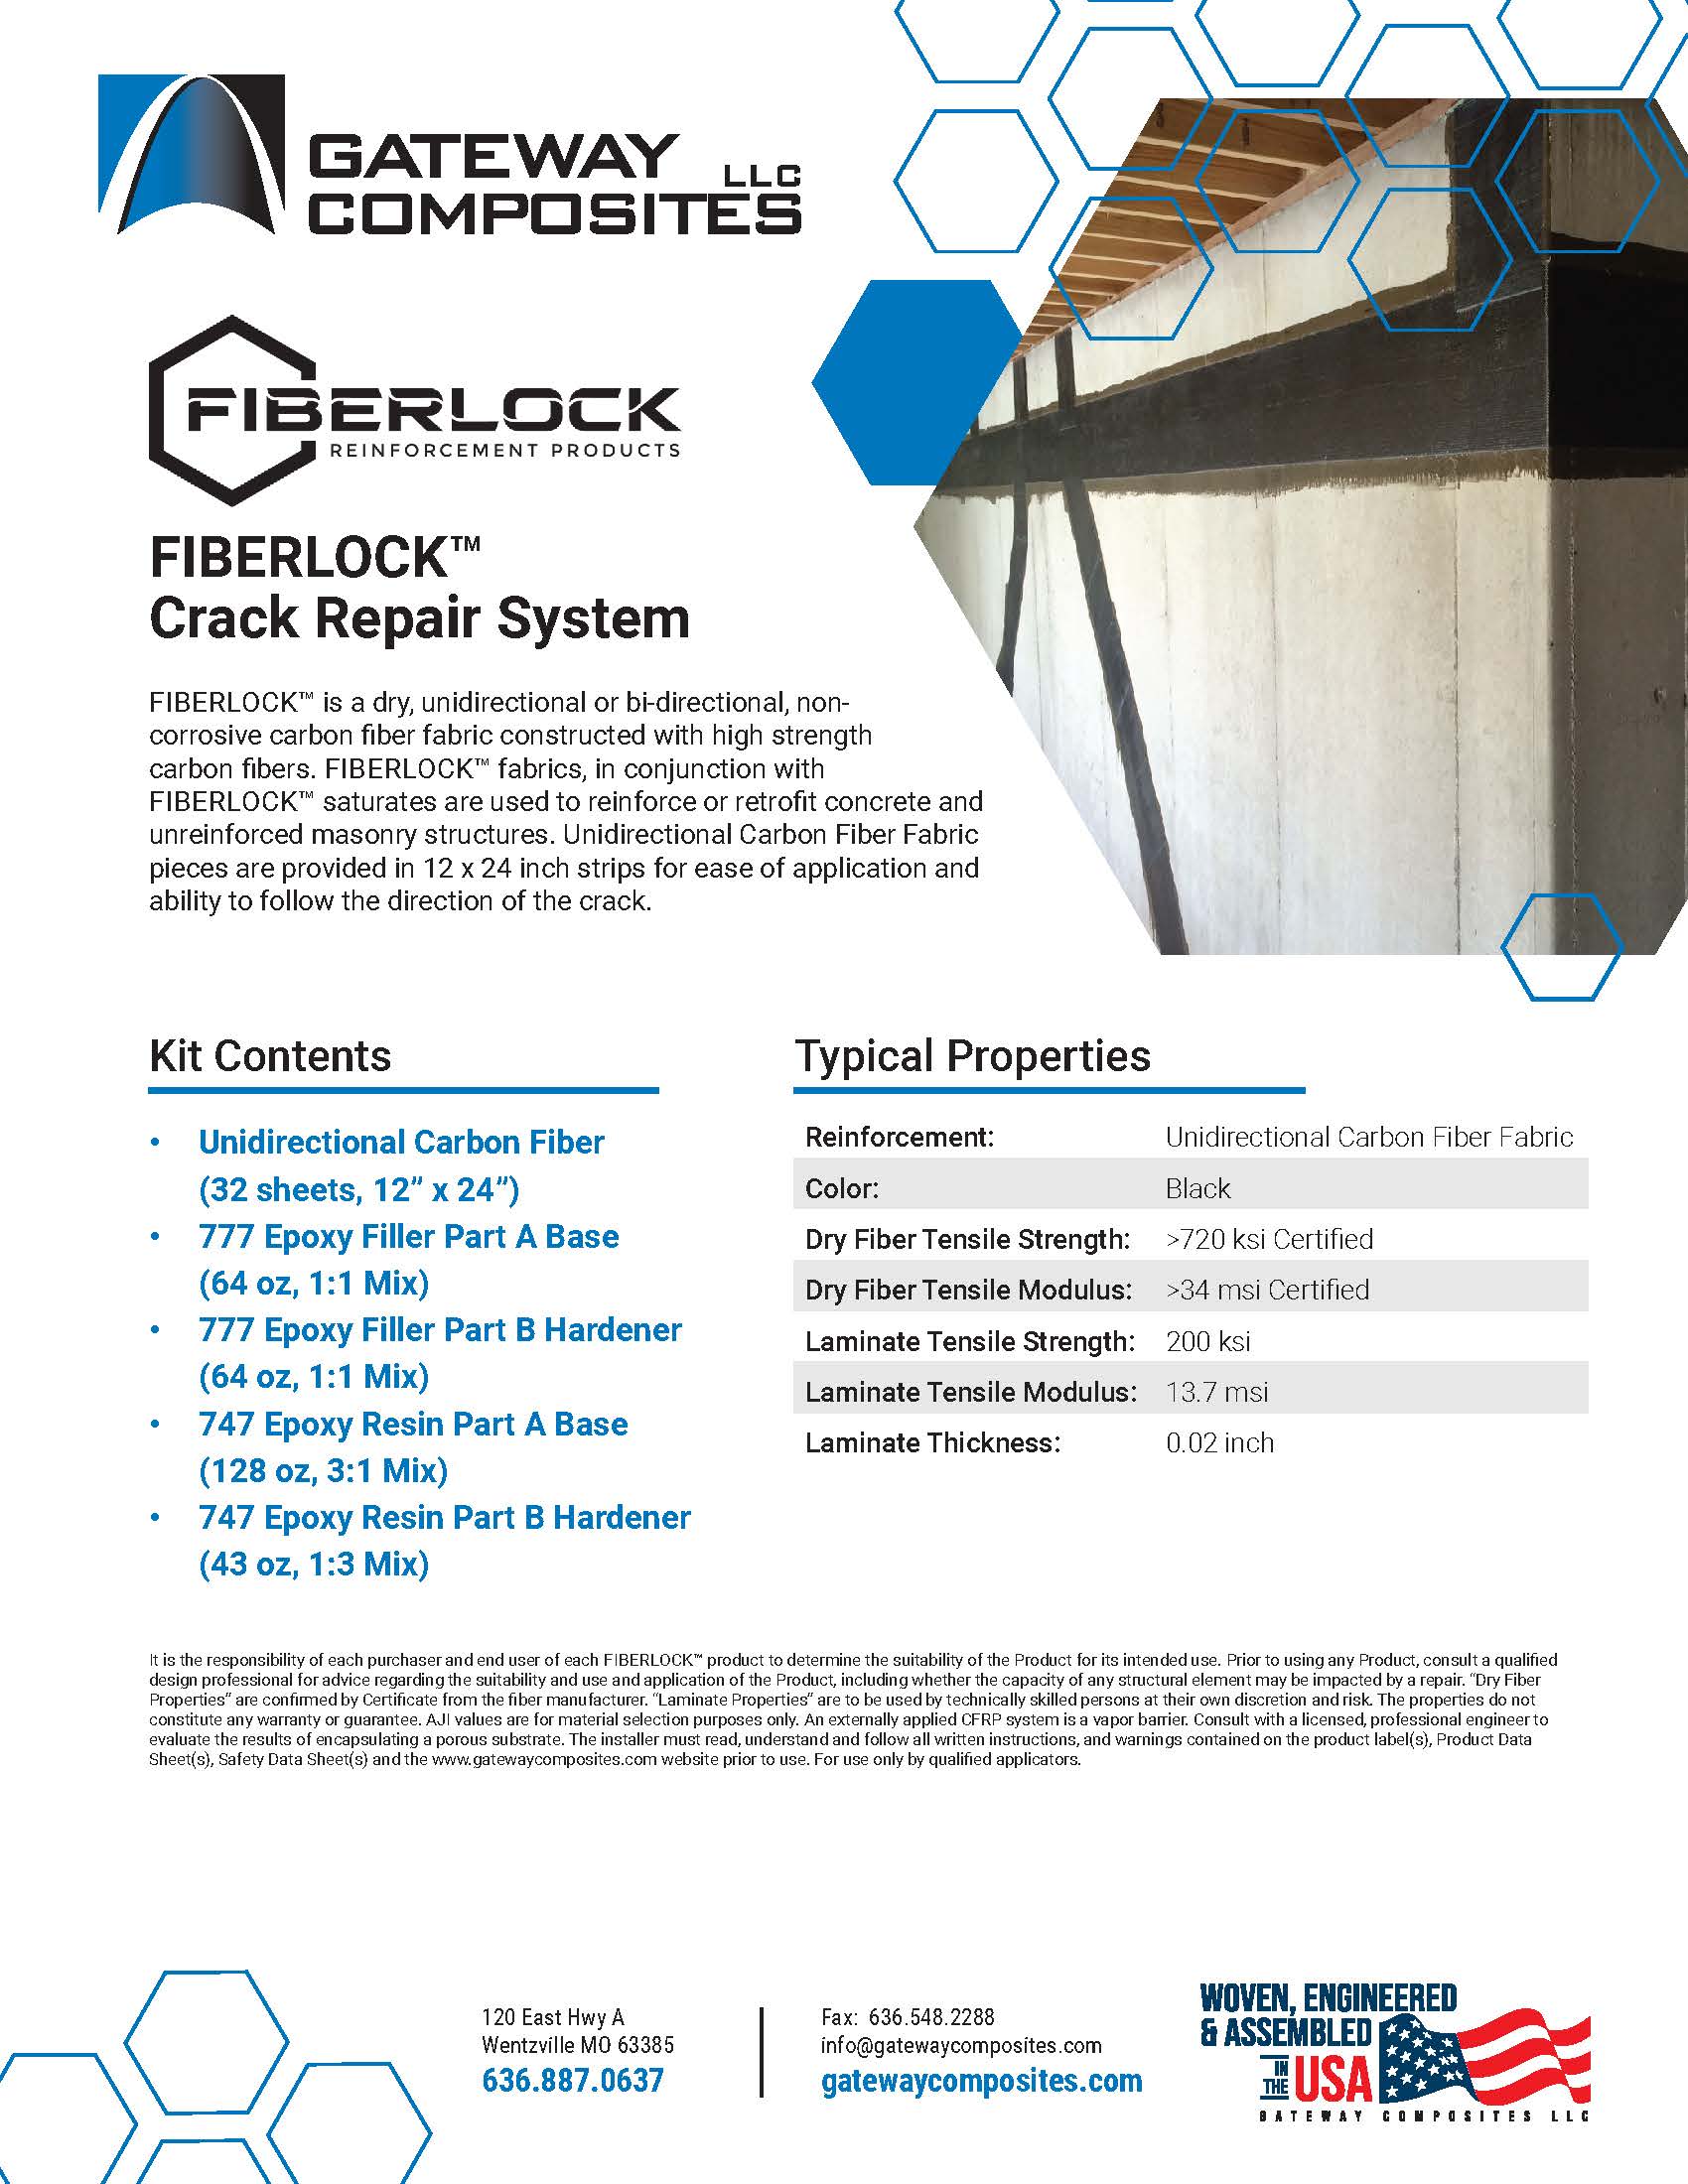
Fiberlock™ is a dry, unidirectional or bi-directional, non-corrosive carbon fiber fabric constructed with high strength carbon fibers. Fiberlock™ fabrics, in conjunction with Fiberlock™ saturates are used to reinforce or retrofit concrete and unreinforced masonry structures. Unidirectional Carbon Fiber Fabric pieces are provided in 12 x 24 inch strips for ease of application and ability to follow the direction of the crack.


KIT CONTENTS
- Unidirectional Carbon Fiber (32 sheets, 12” x 24”)
- 777 Epoxy Filler Part A Base (64 oz, 1:1 Mix)
- 777 Epoxy Filler Part B Hardener (64 oz, 1:1 Mix)
- 747 Epoxy Resin Part A Base (128 oz, 3:1 Mix)
- 747 Epoxy Resin Part B Hardener (43 oz, 1:3 Mix)
STORAGE
Keep Fiberlock™ resin components tightly sealed in their original containers until ready for use. Store at 60-80°F to facilitate handling and workability. Properly stored, Fiberlock™ resin has a shelf life of 12 months. All resins should be conditioned to 70-75°F prior to use for best viscosity, application and wet out capability. Fabrics should be kept boxed or bagged and away from direct sunlight, moisture or dirt/dust.
PROPERTIES
|
Reinforcement: |
Unidirectional Carbon Fiber Fabric |
|
Color: |
Black |
|
Dry Fiber Tensile Strength: |
>720 ksi Certified |
|
Dry Fiber Tensile Modulus: |
>34 msi Certified |
|
Laminate Tensile Strength: |
200 ksi Typical |
|
Laminate Tensile Modulus: |
13.7 msi Typical |
SURFACE PREP
Concrete should be a minimum 50°F, adequately cured, possess adequate integrity and not be expelling excess water or hydration. A rule of thumb for cure of new concrete is 28 days cure at 70°F but that is not an assurance that the concrete has achieved adequate physical properties.
The prepared area should extend 2 inches (on all sides) beyond the width of the carbon fabric. In general, the surface must be dry, clean, free from dust, paint, coating, oil or dirt and free from frost. For bumps, fins and protrusions use hammer, sand blasting, pressure washing, shot blasting, grinding or other approved mechanical means to achieve an open-pore texture with a CSP (concrete surface profile) 3 or better per ICI Guideline 310.2R. Surface should be wiped with clean cloth after grinding, blasting, brushing surface to remove dust particles. Uneven surfaces (voids) and mortar joints must be filled with Gateway Composites 777 Fiberlock™ Epoxy Adhesive/Filler Compound. (2 part 1:1 mix ratio).
RESIN MIXING
Gateway Composites 747 Fiberlock™ Resin is a two part epoxy system with a mix ratio of 3:1 (3 parts base epoxy, 1 part hardener). Epoxies generate heat during mixing and curing cycle, components must be mixed accurately and completely. Use a measured mixing container and roller pan with a high surface to volume ratio that will help minimize heat generation. Mix and keep resins from direct sunlight. Mix using a slow speed paddle (Jiffy type) at 400 rpm for 3-5 minutes. When operating the mixer, avoid plunging it up and down in the bucket. This can fold air into the resin, which may cause bubbles to form in the coating after it has been applied. Be especially careful not to allow water to enter the mix. The working time for Fiberlock™ resin is 25-30 minutes at 70°F, mix only necessary amount to be applied within 30 minutes (15 oz Base Part A and 5 oz Hardener Part B for 8 ft of carbon fiber application). Working time will be longer at cooler temperatures and will be much shorter at higher temperatures.
APPLICATION
Apply one coat of mixed Fiberlock™ resin to saturate and cover concrete (approx. 20 mil thickness) with ¼” nap roller. Make sure to cover complete application area (no dry concrete visible where carbon fiber will be applied, press roller firmly onto surface for good coverage). Place cut fabric piece against wall so fiber orientation is from top to bottom (vertical). Use hands to gently press fabric into resin for adhesion. Apply second coat of resin extending beyond dimensions of carbon fabric by 2 inches. Press firmly with roller keeping in same direction as fibers for maximum saturation and wet-out of fabric.
SAFETY & FIRST AID
Avoid breathing vapors. Avoid contact with skin and eyes. Rubber gloves, mask and goggles are recommended for safety. Review Safety Data Sheets (SDS) prior to use.
CLEAN UP
Dispose of in accordance with local disposal regulations.
RECOMMENDED TOOLS
- 4” Putty Knife
- Disposable Paint Tray
- Disposable Mixing Buckets with Side Measurements
- Protective Gloves (Impermeable to Solvents)
- Respirator (NIosh/Msha Approved)
- Goggles and Face Shield
- Scissors
- Tape Measure
- 1/4” Nap Roller
- Power Drill
- Paint Mixer Jiffy Type
- Grinder with 5” Diamond Grinding Wheel
STEP BY STEP INSTRUCTIONS
- Identify crack on wall. It is important to keep crack line as center point of repair area. Surface prep and fabric application will use approximately 7 inches on each side of the crack.
- Using a grinder with 5” diamond wheel, grind area where the carbon fiber strips are to be placed (this will be 7 inches on each side of the crack). Remove any protrusions with a grinder or hammer. Brush area removing all debris, paint, coating, oil, and dirt. Make sure the wall is dry and wipe with clean, dry towel, if necessary.
- Inspect wall and note any voids or bumps that would not provide a smooth/void free surface. Mix 5 oz. Epoxy Adhesive/Filler Compound, “Part A Epoxy” with 5 oz. “Part B Hardener”.
- As necessary, fill all cracks, joints and voids, where the wall strips will be placed, using the 777 Epoxy filler compound. Press firmly into cracks and voids to eliminate air pockets. Feather/trowel for smooth surface. A smooth surface is critical for proper adhesion. Voids or bumps will create voids which result in poor bonding of carbon fiber to structure.
- Mix 15 oz. “747 Part A Epoxy” with 5 oz. “747 Part B Hardener” in a dry clean disposable bucket. Mix thoroughly. Pour resin/hardener mixture into a disposable paint roller tray.
- With a ¼” nap roller, start at the top of the wall and apply resin/hardener mixture to the area where the carbon fiber strip will be placed. Apply resin to area 2 inches wider on all sides than the fabric width (14 inch wide total).
- With the carbon fiber wall strips at a 90-degree angle across the crack, lay the wall strip from the bottom first (12 inch wide by 24 inch tall). Wearing rubber gloves on your hands, press the fabric into the resin saturated wall. Make sure the fabric is wrinkle free, all corners and edges are in resin and fabric is firm against the wall.
- Rolling in the same direction as the carbon fiber, apply one more coat of the resin/hardener mixture with roller in the same direction as the fiber (this aids in fabric wet-out). Do not roll back and forth across the fiber direction. Make sure the carbon fiber wall strips are laying flat against the concrete. Use firm pressure to achieve good wet-out of carbon fabric.
- Apply next carbon fiber strip above the first with 1/4” overlap. Make sure to use crack as center point for carbon fiber strip placement. Repeat steps 5 through 8 until the crack has been covered with the carbon fiber wall strips needed.
- Clean up and dispose of excess materials as stated in the SDS sheets.
It is the responsibility of each purchaser and end user of each Fiberlock™ product to determine the suitability of the Product for its intended use. Prior to using any Product, consult a qualified design professional for advice regarding the suitability and use and application of the Product, including whether the capacity of any structural element may be impacted by a repair. “Dry Fiber Properties” are confirmed by Certificate from the fiber manufacturer. “Laminate Properties” are to be used by technically skilled persons at their own discretion and risk. The properties do not constitute any warranty or guarantee. AJI values are for material selection purposes only. An externally applied CFRP system is a vapor barrier. Consult with a licensed, professional engineer to evaluate the results of encapsulating a porous substrate. The installer must read, understand and follow all written instructions, and warnings contained on the product label(s), Product Data Sheet(s), Safety Data Sheet(s) and the www.gatewaycomposites.com website prior to use. For use only by qualified applicators.


